Capture the Ride: Your Ultimate Guide to Stunning Bike Photography
Unleash your inner cycling photographer! Learn camera choices, pro shooting tips, and editing secrets from Ronnie Romance to capture stunning bike photos and boost your online presence.

Bicycle photography has a rich history, dating back to the advent of bicycles themselves. Riders have long sought to capture their adventures and share them with others, a tradition that continues to thrive today. With the proliferation of social media platforms like Instagram and Strava, the desire to create compelling bike photos has only intensified. This guide, inspired by Ronnie Romance's in-depth analysis, delves into the essential cameras, shooting techniques, and editing secrets to elevate your cycling photography and garner maximum engagement.
The Evolution of Cycling Photography: From Film to Feeds
Ronnie Romance's own photographic journey began in the early 90s, capturing bike stunts and rides with a point-and-shoot camera, developing the film, and scanning images for his blog. This early embrace of sharing personal cycling experiences foreshadowed the rise of platforms like Instagram, which he readily adopted. As mobile phone cameras improved and his online presence grew, Romance invested in higher-quality cameras, exploring film photography before ultimately settling on a digital workflow for its flexibility and efficiency. He emphasizes that the bicycle has become a vehicle for his photography, a natural pairing of two historical innovations that have profoundly shaped the modern world.
Choosing Your Weapon: Cameras for the Cycling Photographer
When it comes to cameras, Romance highlights two primary categories: compact "point-and-shoot" cameras and more advanced interchangeable lens systems.
The Everyday Companion: Ricoh GR Series
For on-the-bike photography, where one foot often remains on the pedal, Romance highly recommends the Ricoh GR series (specifically the GR2 and GR3). These cameras are lauded for their exceptional portability and image quality.
- Crop Sensor Advantage: Both GR cameras feature a crop sensor, which, while smaller than full-frame, still delivers high-quality 24-megapixel images. For hobbyists, a crop sensor is often ideal, offering a more compact system and more focal length for the size of the lens.
- Fixed Lens Prowess: The GR cameras utilize fixed lenses (no zoom), which generally boast superior glass and wider apertures (e.g., f/2.8) compared to zoom lenses. This allows for excellent subject separation (bokeh) and better low-light performance.
- Discreet & Convenient: Their tiny form factor makes them incredibly inconspicuous for street photography and easy to grab, shoot, and pocket while riding.
- "P" Mode for Simplicity: Romance suggests shooting in "P" (priority) mode and adjusting the ISO based on lighting conditions (ISO 100 for bright sun, ISO 800 for dappled light).
Stepping Up: Fujifilm X-Pro 3 and Beyond
For those seeking more versatility, Romance points to the Fujifilm X-Pro 3. This is another crop-sensor camera offering high-quality 24-megapixel images, but with the added benefit of interchangeable lenses.
- Lens Versatility: The X-Pro 3 allows photographers to build a system of lenses, including fixed-focal-length lenses like the 7 Artisans 35mm f/1.2 (a 50mm full-frame equivalent).
- Aperture Priority: Romance typically uses aperture priority mode with his Fuji cameras, allowing the camera to calculate shutter speed and ISO based on his chosen aperture.
- Manual Control & Learning: Fujifilm cameras are praised for their intuitive controls, with settings readily accessible, making them excellent for learning the fundamentals of photography.
Why Not Film Anymore?
While Romance acknowledges the value of learning film photography for understanding image aesthetics, he no longer shoots film regularly due to the cost ($1-3 per photo) and the more flexible workflow offered by digital systems, especially for his primary output channels: Instagram, Strava, and his blog.
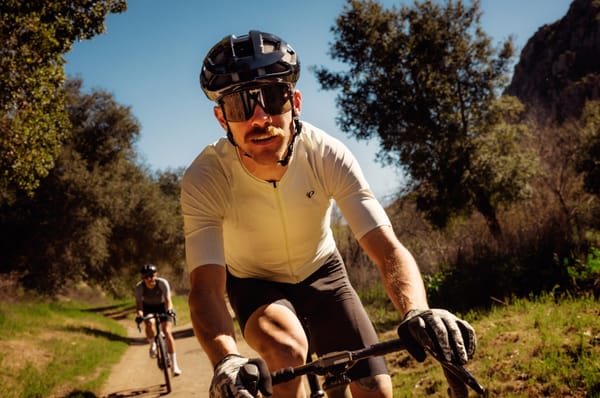
Mastering the Art of the Bike Portrait
Beyond on-the-go snapshots, capturing stunning bike portraits requires a more methodical approach. Romance offers several key tips for creating visually appealing static bike photos:
- Optimal Lighting: Wait for muted light (overcast days, early morning, or late afternoon) to avoid harsh shadows and create a softer, more dramatic look.
- The Right Lens: For bike portraits, a longer focal length lens is preferred. Romance favors a 90mm Fuji f/2 lens (a 135mm full-frame equivalent) for its ability to "stack" elements behind the subject, flatten the background, and produce dramatic separation.
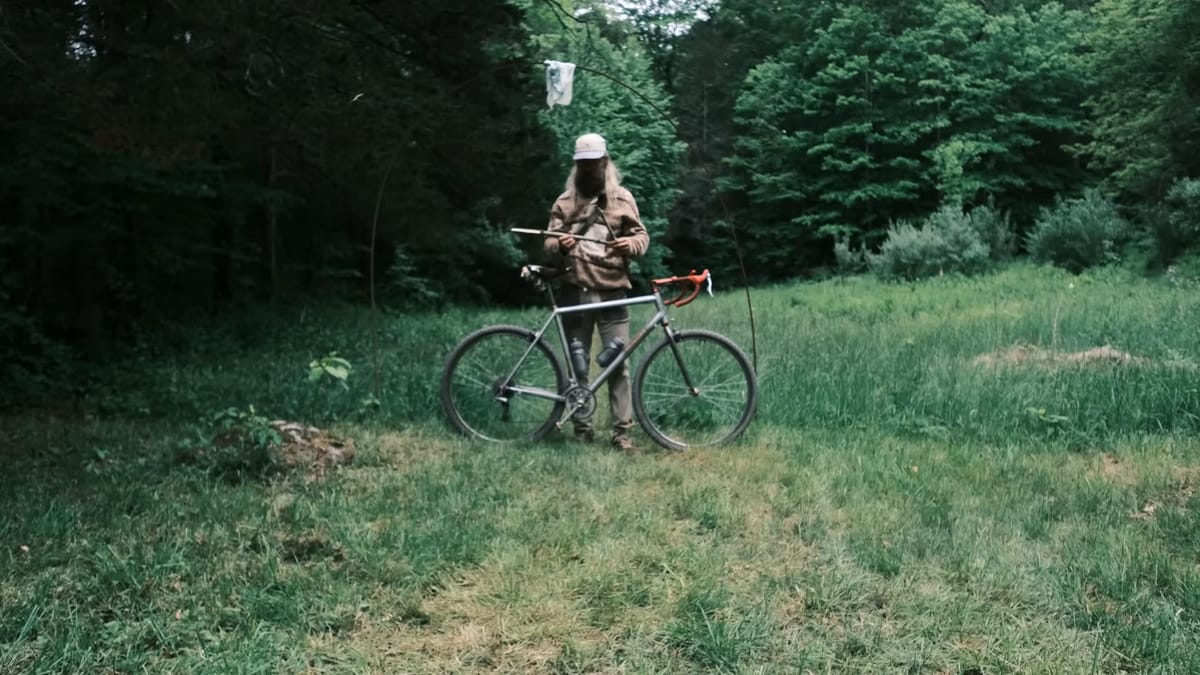
- Prop It Up: Use a prop (like a stick, as Romance humorously demonstrates) to keep the bike standing upright and as straight as possible.
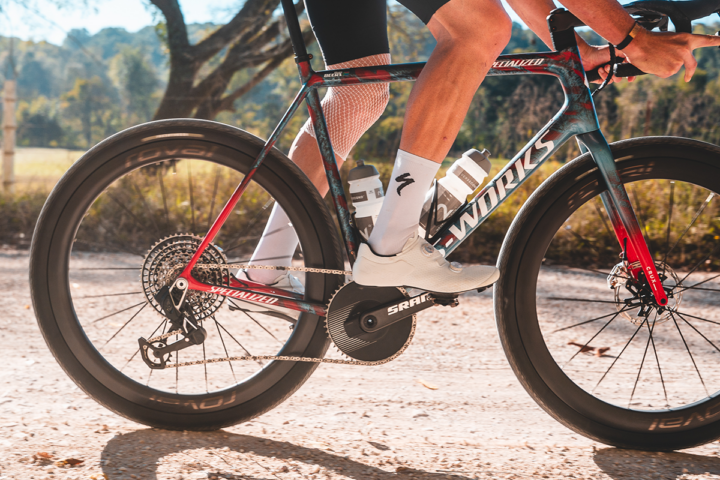
- Bike Presentation Matters:
- Big Ring: Always ensure the bike is in the big ring for a cleaner look.
- Crank Position: Position the cranks parallel to the chainstay or slightly behind (as Ronnie prefers) to imply motion. John Watson of The Radavist is cited as a master of bike portraits and this technique.
- Valve Stems: While some photographers meticulously align valve stems, Romance is more relaxed about this detail, suggesting it can sometimes make the photo appear too staged.
- Subtle Motion: Position the pedal slightly backward to suggest the rider is about to embark on a ride.
- Compositional Excellence:
- Disappearing Handlebar: Aim to make the far side of the handlebar disappear behind the front side, creating a cleaner, more streamlined appearance.
- Level and Even Spacing: Ensure the camera is level and that there's even spacing around the wheels and below the bike.
- Focus on the Logo: Always focus on the bike's logo. If the logo is in focus, the entire frame is likely sharp.
- Aperture Control for Depth:
- Shallow Depth of Field (f/2): For that creamy background (bokeh), use a wide aperture like f/2 to separate the subject from the background.
- Overall Clarity (f/5.6 - f/8): For a photo where everything is in focus, especially when shooting the bike sideways, stop down the aperture to f/5.6 or f/8.
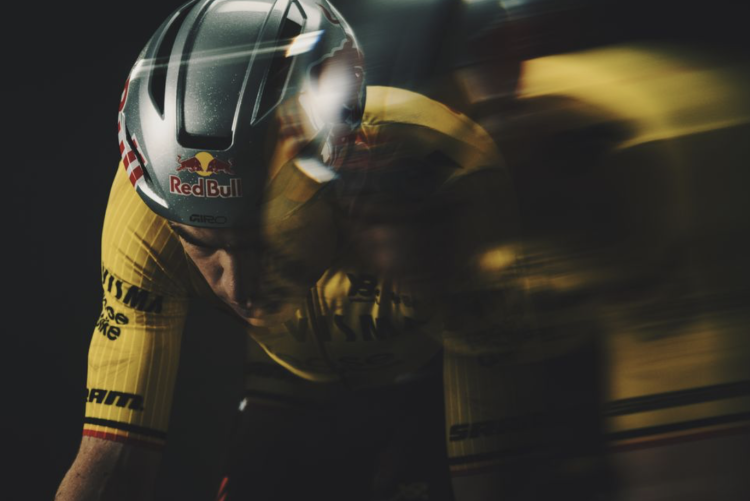
- Dynamic Shots: For shots suggesting movement down a path, an aperture between f/4 and f/5.6 can provide a pleasing balance of softness and clarity.
The Post-Processing Workflow: From RAW to "Vibe"
Romance's editing philosophy revolves around the flexibility of RAW files and the power of Adobe Lightroom.
- RAW vs. JPEG: While JPEG files are smaller and can leverage in-camera film simulations (especially on Fuji cameras), RAW files contain significantly more information in highlights and shadows, providing greater flexibility for post-processing.
- Lightroom for the Win: Romance processes all his photos through Adobe Lightroom (desktop or mobile).
- Key Editing Steps:
- Import & Presets: Import RAW files and apply a favorite preset as a starting point.
- Highlights & Shadows: Adjust highlight and shadow sliders by eye to achieve the desired look, monitoring the histogram for guidance.
- Clarity: Use the clarity slider sparingly (around +12 to +13) to add subtle texture without making the image look fake or over-processed (avoiding the "HDR" look).
- Cropping & Leveling: Crop the image to highlight the bike, maintaining even spacing around the wheels, and use the leveling tool to ensure the bike is perfectly straight.
- AI Magic for Distractions: Utilize AI tools (like content-aware fill in Lightroom) to seamlessly remove unsightly elements like props or sticks used to hold the bike up.
- Vignetting: Add a subtle vignette (rarely exceeding -10) to draw the viewer's eye to the center of the image.
- Grain: Experiment with grain (often reducing it) to add texture and a "film-like" aesthetic, as our eyes are often trained to appreciate photos with a historical, filmic quality.
- Local Adjustments: Use brushes to selectively brighten or darken specific areas, such as a pathway, to guide the viewer's gaze.
- Export and Share: Export small versions of the edited photos for social media sharing.
iPhone Photography: A Capable Alternative
For those without dedicated cameras, Romance emphasizes that the iPhone can still produce excellent bike photos, especially with its advanced computational photography features.
- 3x Lens for Perspective: Utilize the iPhone's 3x lens to gain better perspective and achieve the "disappearing handlebar" effect.
- Leveling and Cropping: Even with an iPhone, focus on leveling the bike and cropping the image for optimal composition and even spacing.
- In-App Editing: Use the iPhone's built-in editing tools to adjust highlights down and shadows up for a more balanced image.
- Portrait Mode: Experiment with portrait mode to achieve artificial bokeh, though Romance notes that while passable, dedicated cameras still offer superior image quality and cleaner subject separation, especially around complex areas like spokes.
- Night Photography: iPhones excel at night photography, capturing details that traditional cameras might miss.
The Takeaway: Elevate Your Online Experience
Ultimately, Ronnie Romance's extensive advice boils down to a simple philosophy: better photos, especially bike photos, contribute to a better internet experience for everyone. By understanding basic photographic principles, choosing the right tools for your needs, and embracing post-processing, you can transform your cycling snapshots into compelling visual narratives that resonate with your audience and enhance the online cycling community.